Rice Noodles, Bok Choy, and Red Bell Pepper
This is one of those types of “recipes” that are my favorite type to share – the ones that aren’t really as much “recipes” as they are ideas to get your creative juices flowing. The reason they’re my favorite type to share is because you get to customize it any way you like..
- to suit your own personal tastes
- to suit your own personal needed (or desired) diet
- to use what’s in season
- to use what you have on hand!
I happen to have multiple food restrictions. Instead of thinking of the situation as a curse that keeps me from the foods I can’t have, I like to think of it as a blessing, forcing me to eat healthier foods that I can have… and enjoy! So if you see vegetables I use in recipes that happen to be… let’s say.. low FODMAP, feel free to substitute them with similar textured vegetables you prefer.
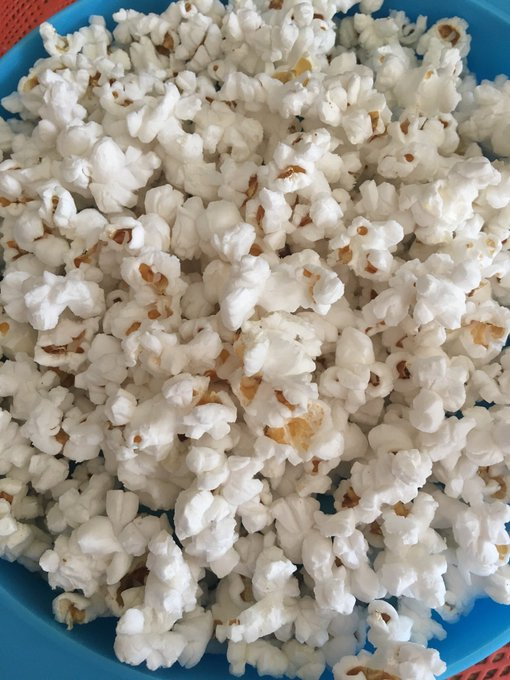
I eat a lot – let’s make that A LOT of rice noodles. I simply adore them – they’re delicious and a lot of fun to get creative with. I’ve even topped them with pasta sauce! Truth be told, I prefer them to most gluten-free pasta on the market.
Oof.
I always use Thai Kitchen Stir-Fry Noodles (Amazon link) because they’re simply outstanding.
Most of the time, as I did with this meal, I cook the rice noodles (according to the directions on the box), then drain the water. I place the egg noodles back into the pan and add either chicken broth or (my favorite, because it’s so gut healthy) chicken bone broth. The amount of broth I add is determined, of course, by the meal.
In this case, I added a dash of cayenne pepper and 1 tsp of ground ginger to a few cups of chicken bone broth and let the noodles very lightly simmer while I sautéed the bok choy and red bell pepper. The combination of cayenne pepper, ginger, and chicken broth (whether it’s chicken bone broth or regular chicken broth) is downright magical.
To sauté the vegetables, I warmed a couple of tablespoons of olive oil in my skillet and added chopped bok choy and bell pepper. If you’re able to, add onions, garlic, or whatever suits your fancy.
When it came time to plate the colorful and flavorful meal, I added the rice noodle to our plates, topped the noodles with the sautéed vegetables and sprinkled chives over the whole production.
It warmed up BEAUTIFULLY the next day (with a little extra broth) for a delicious lunch!
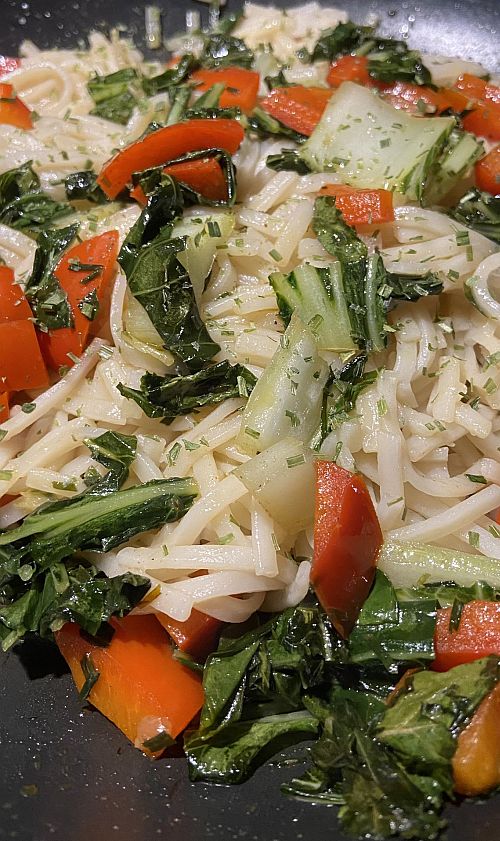
Rice Noodles, Bok Choy, and Red Bell Pepper