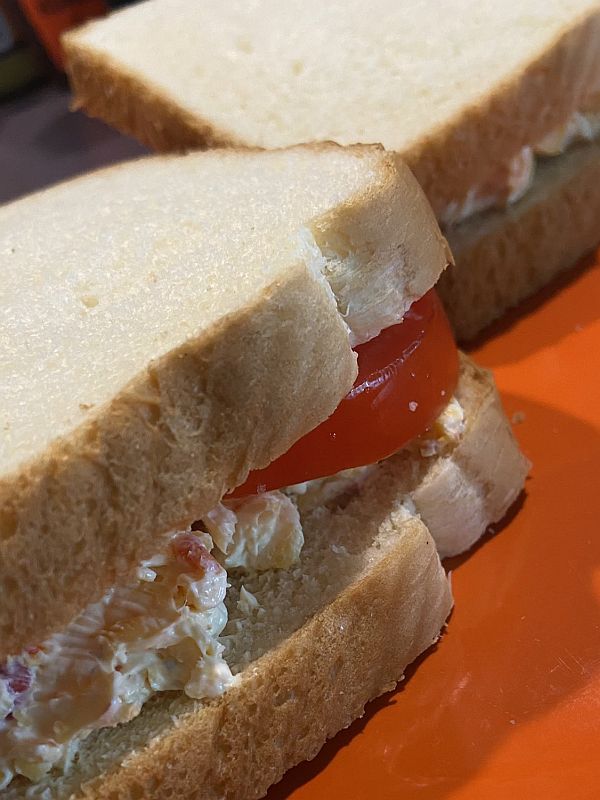
Pimento Cheese, Fixing to Happen
Okay, so why do I call this Kentucky Pimento Cheese?? Well…
- It’s Pimento Cheese
- I live in Kentucky
Mystery solved! Actually, I thought the words Pimento Cheese looked kind of lonely and wanted to give them a friend.
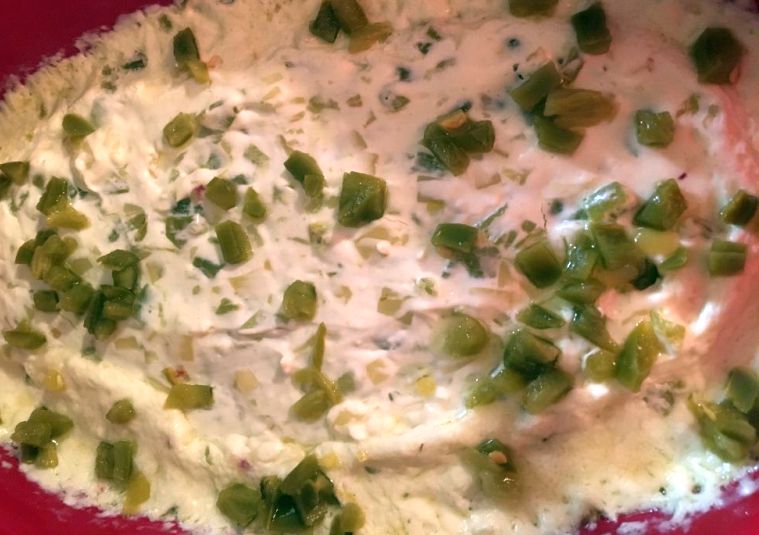
This is my go-to recipe for pimento cheese because it’s easy, simple, and (most importantly) delicious. It’s creamy and a little sweet (thanks for all you do for me, cream cheese). You can add a little jalapeno and/or cayenne pepper (just a little, don’t get crazy with it) to it if you’d like to balance the sweetness, but as a true southerner, sweetness floats my boat, so I take him as he is.
A few quick notes…
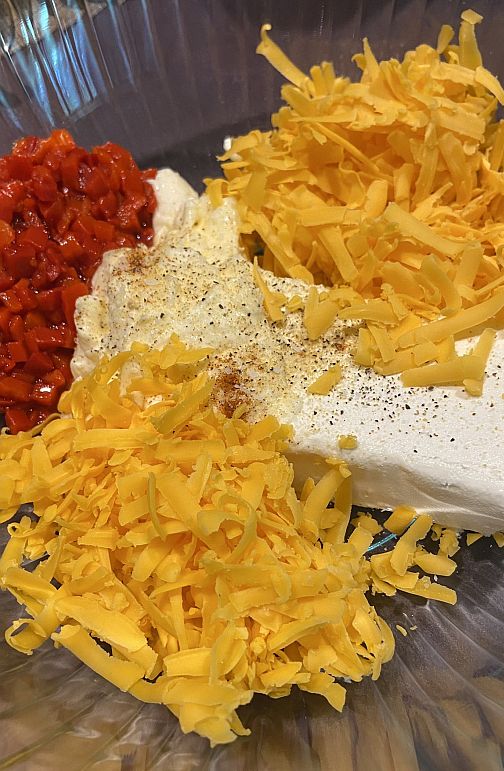
- Make this your own by adding more cheese if you like, as much salt and pepper as you prefer, and adjusting the mayo to fit your personal tastes.
- It’s always a great idea (with any food, actually) to shred your own cheese rather than buying it shredded. It simply tastes a lot better. A LOT better.