Ironically, in spite of ALWAYS saying, “You’ll only be as great a cook as your tools and ingredients allow you to be,” I put off buying a KitchenAid stand mixer for years. And years.

The very person who consistently pays more for most ingredients and who grabs every new kitchen gadget that hits the market put off buying something because it, “… seems so high.”
If I didn’t do a great deal of baking, it’d be more forgivable but with a large family, there are always birthday cakes to make, homemade icing to throw together, candies, pies, and whatnot. And that in’t even counting Thanksgiving and Christmas – my annual grand finales!
I knew Kitchenaid stand mixers were gorgeous and knew the brand had one of the best reputations in the business but I honestly assumed my handheld mixer could do anything it could and I knew it was far cheaper. More on the faulty assumption in a minute.
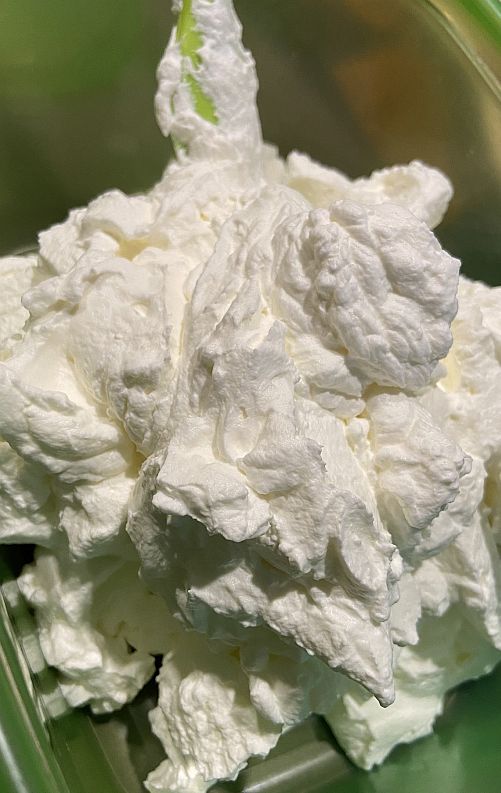
Earlier this year, my youngest daughter got a Kitchenaid stand mixer (Amazon link) and immediately began to rave about it. She’s one of the rare humans who does as much baking and cooking as I do, so when she recommends something, I listen. I decided to test her Kitchenaid out with something I make each week – Homemade Whipped Cream. My husband and I love it in our coffee (as well as on ice cream, cakes, cookies… heck, I’ve even seen him eat it right out of the bowl).
(Continued Below the Whipped Cream!)

Homemade Whipped Cream (Recipe)
First of all, I fell in love with the fact that all I had to do was put all of the ingredients into the bowl and that the Kitchenaid did the rest. My right arm marveled at something being beaten without it feeling the burden.
However, if the results had been the same, I would have stayed loyal to my handheld for the rest of my life.
The results were not even remotely the same. My homemade whipped cream has always been delicious but this time it had a MUCH better consistency – a consistency that made it look better and, somehow, even taste better. I remember picking it up with a spoon and thinking how much it looked like store-bought whipped cream. My handheld never did that.
Then it hit me… if the Kitchenaid stand mixer (Amazon link) makes this big of a difference with something as simple as whipped cream, imagine the difference it can make with cakes, pies, cookies, brownies, divinity, fudge… that was it. I was sold.
Yes, a Kitchenaid stand mixer is more expensive than hand held mixers and, yes, for most of us, they’re somewhat of an investment. But here’s the thing, if the meals we make for our loved ones aren’t worth it, nothing is.
I would never recommend anything to my readers that I don’t absolutely love and use. I’d never suggest you buy something unless I knew you’d love it – I’m just not built that way.
I’m 100 percent certain you will love a Kitchenaid stand mixer (Amazon link) as much as I do. From what I’ve read, other stand mixers do not hold a candle to the Kitchenaid brand, so I wouldn’t get sidetracked there, if I were you. Kitchenaid is a household name and experience has shown me why.
See Also: Recipe for the Best Whipped Cream!
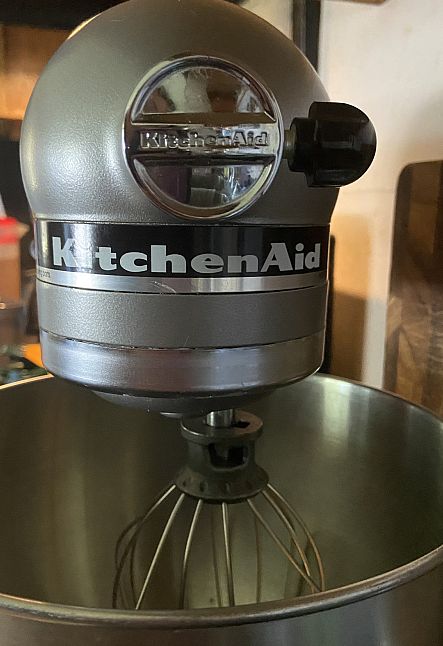
KitchenAid Stand Mixer